NDI Recorder
The NDI Recorder can be used to "screen capture" the ATVO graphics (without capturing anything else in the background). The NDI stream can then be consumed by your streaming software, or even NDI hardware such as an NDI Tricaster or similar products.
Setting up NDI Recorder
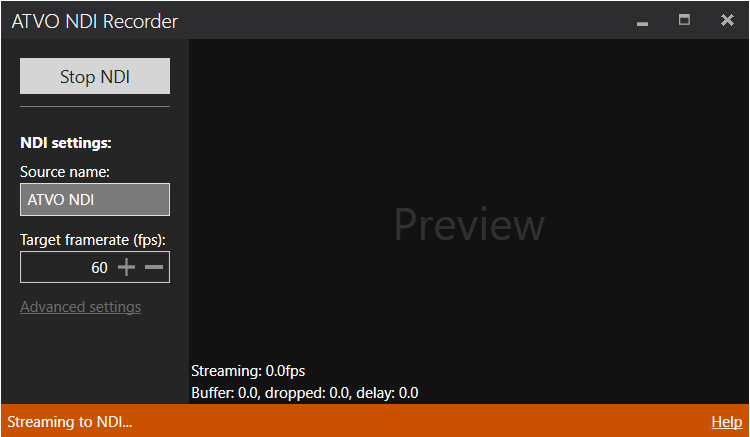
To use NDI Recorder, simply start it from the tools menu. Then give your NDI source the desired name (make sure it does not compete with other potential NDI sources) and set your desired frame rate.
To start recording, make sure ATVO is running and then click Start. If successful, you will see a small preview of the graphics inside the NDI Recorder.
Once running, you can consume your NDI stream either on the same computer, or on any other computers on the local network (LAN). NDI should automatically make the source available over the network.
NDI with OBS
If you are using Open Broadcaster Software (OBS), you'll need to install an OBS NDI plugin to consume NDI sources.
Once installed, simply add a new Scene and then add a new NDI Source. Select the ATVO NDI source.
Advanced Settings
- Hide capture border: on Windows 11 and up, you can enable this setting to hide the yellow capture border that indicates screen capture is in progress. Unfortunately, on Windows 10 this setting does not work as Windows makes the border mandatory.
- Buffer size: if you are suffering from high CPU usage of NDI Recorder and a laggy stream, you can try increasing the buffer size. Normally, a buffer of 3 is ideal and a larger buffer makes no difference.
- Enable performance statistics: if you are suffering from issues, you can temporarily enable this setting to see some more debug output in the preview window. Do not leave this option enabled for regular streaming as it could have a performance impact.
