Appgineering Launcher
The Appgineering Launcher is a lightweight desktop tray application that installs, updates, and launches all your Appgineering products from one place. It also gives you quick access to Appgineering web services such as Live Timing.
If you have used JetBrains Toolbox, the Epic Games Launcher, or a similar product, the Launcher will feel familiar — it sits in your tray or menu bar, keeps a small set of applications installed and up to date, and gets out of your way the rest of the time.
Getting Started
This section explains how to obtain, install, and start the Launcher for the first time. Once installed, the Launcher handles its own updates and the updates of every Appgineering product you install through it.
System Requirements
The Launcher is available for the following platforms:
- Windows — Windows 10 (64-bit) or later, on x64 hardware.
- macOS — macOS 13 Ventura or later, on Apple Silicon (M1, M2, M3, M4).
You also need an active internet connection for installs and updates. Around 200 MB of free disk space is required for the Launcher itself; installed applications consume additional space depending on their size.
Downloading the Launcher
Visit appgineering.com and choose the installer that matches your operating system. Two installer types are offered:
- Windows —
Setup-win-x64.exe - macOS —
Setup-osx-arm64.pkg
The installer is the same regardless of which Appgineering product you want to use. You only need to install the Launcher once.
Installing the Launcher
Step-by-step installation for each supported platform.
Windows
Double-click the downloaded Setup-win-x64.exe. The installer runs in per-user mode, so you do not need administrator rights. It places the Launcher in your local application folder, creates a Start Menu entry, and adds it to the list of programs that start with Windows.
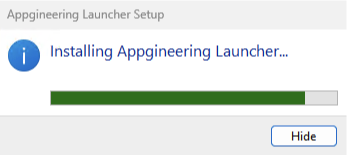
The installer is silent once started — there are no options to choose and no prompts to dismiss. When it finishes, the Launcher starts automatically.
First Launch
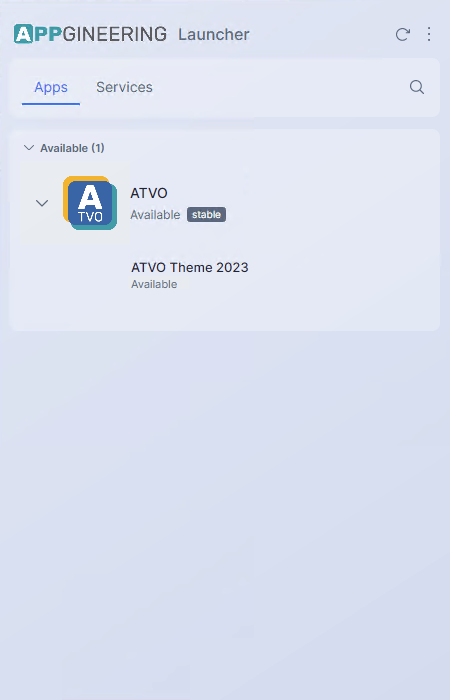
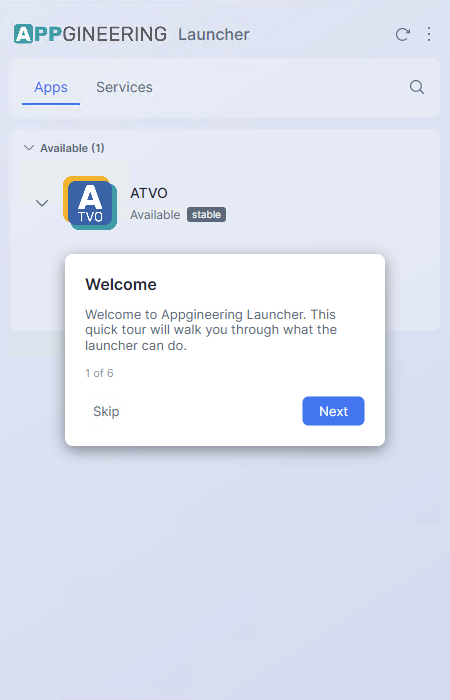
The first time the Launcher starts, the main window opens on your screen and the tray / menu bar icon appears. The first-launch tour begins automatically and walks you through the interface.
The window appears empty on first launch — no applications are installed yet. After dismissing or completing the tour, browse the Available section of the Apps tab to install your first application.